2.2 Nachos Installation

2.2.1 Windows Installation

  1. Install Cygwin. Cygwin is a Windows program that emulates Unix commands and processes. In order to install and run Nachos, we must do it in this environment. Be sure to download the 32-bit version of Cygwin since the Windows MIPS cross-compiler is 32-bit only.
  2. During Cygwin installation, you will be prompted to select custom packages to install or skip. Search for make and gcc and include them for installation, see Figures  1 and  2 for clarification. Once the installation is finished, make sure to run Cygwin before proceeding to the next steps in order for it to initialize its folders properly.

    pict

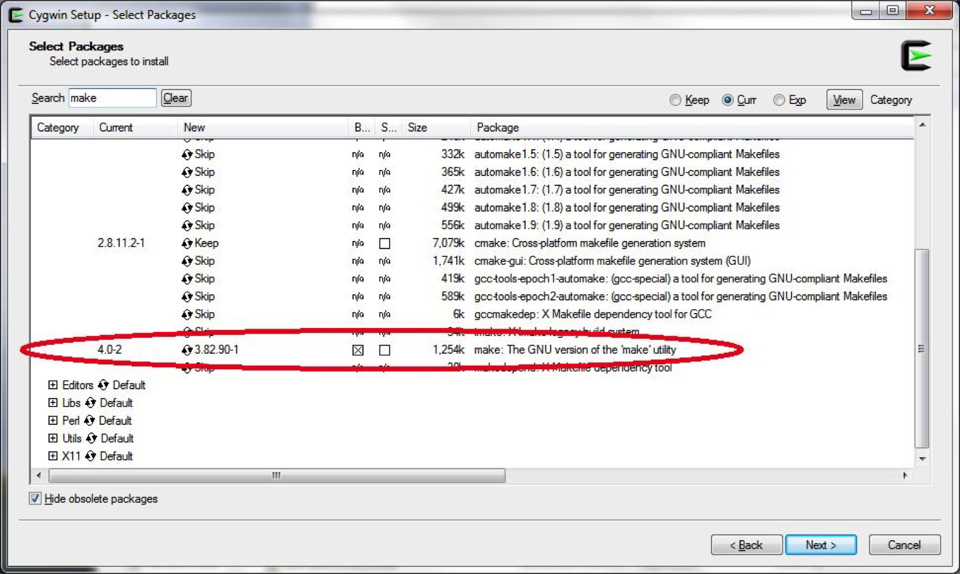
    Figure 1: Add Make to your installation

    pict

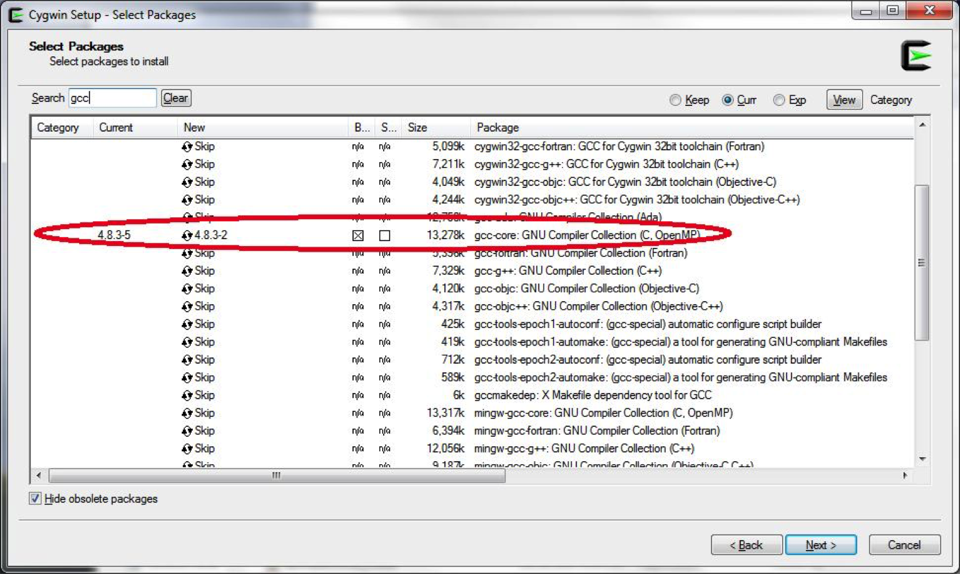
    Figure 2: Add gcc to your installation
  3. Download Nachos here and save it to a directory that is easily accessible. Since you are using Cygwin, it is recommended that you save it to your Cygwin home directory (See the address bar in Figure  3).
    pict
    Figure 3: Your empty user directory on Cygwin

  4. Extract Nachos by running tar -zxvf nachos.tar.gz in the directory it was saved.
  5. Now we must add the JDK to the Cygwin path. Navigate to your home directory in Cygwin and look for .bash_profile and open it with the text editor of your choice.
  6. At the bottom of the file, add the path to your jdk bin folder to the path variable, like in Figure  4.

    pict

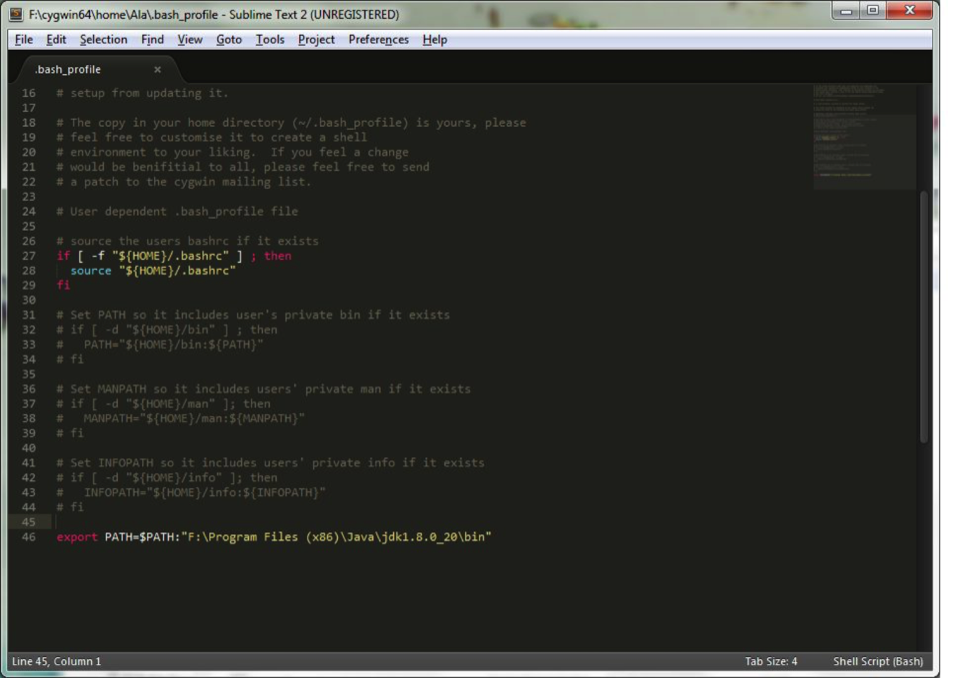
    Figure 4: Add jdk/bin to your path variable
  7. Run javac in Cygwin. If you get a “command not found” error, then double-check your path.
  8. We can now compile. Navigate to the Proj1 directory and run make.
  9. Once you have compiled proj1, you are now ready to run it. Run ../bin/nachos, your output should look something like Figure  5 if everything was installed correctly.
  10. You can add Nachos to your path by including the nachos/bin directory inside of the path export line in .bash_profile following the same procedure in Step 6.

    pict

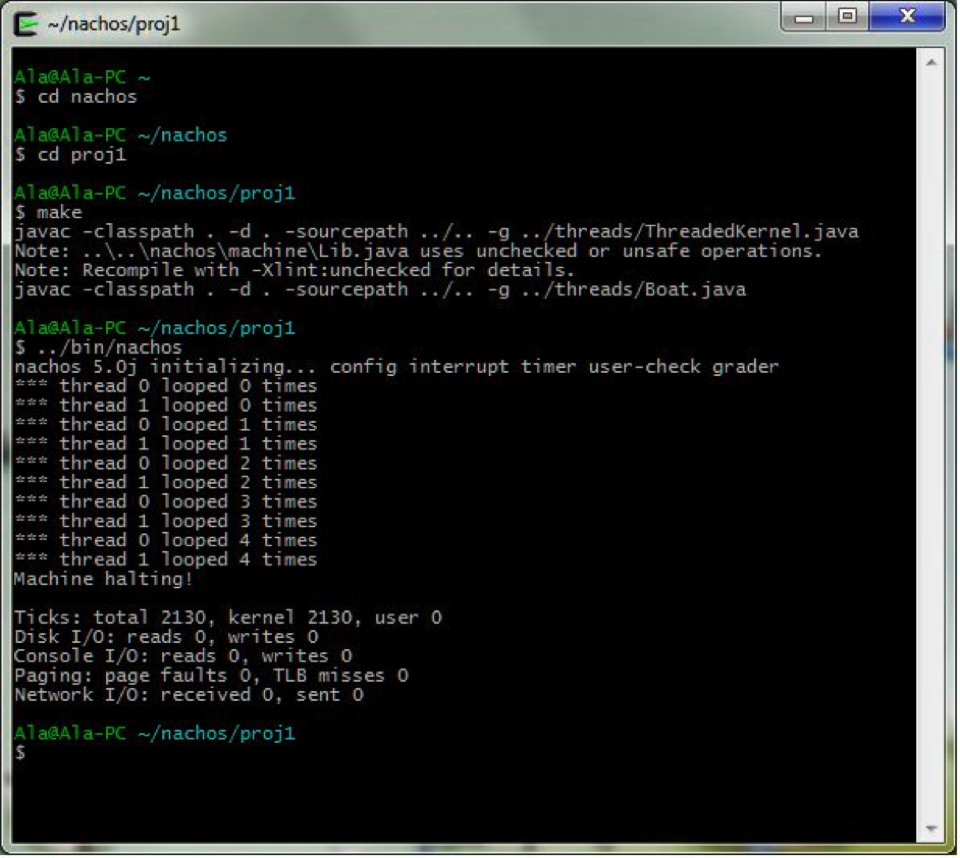
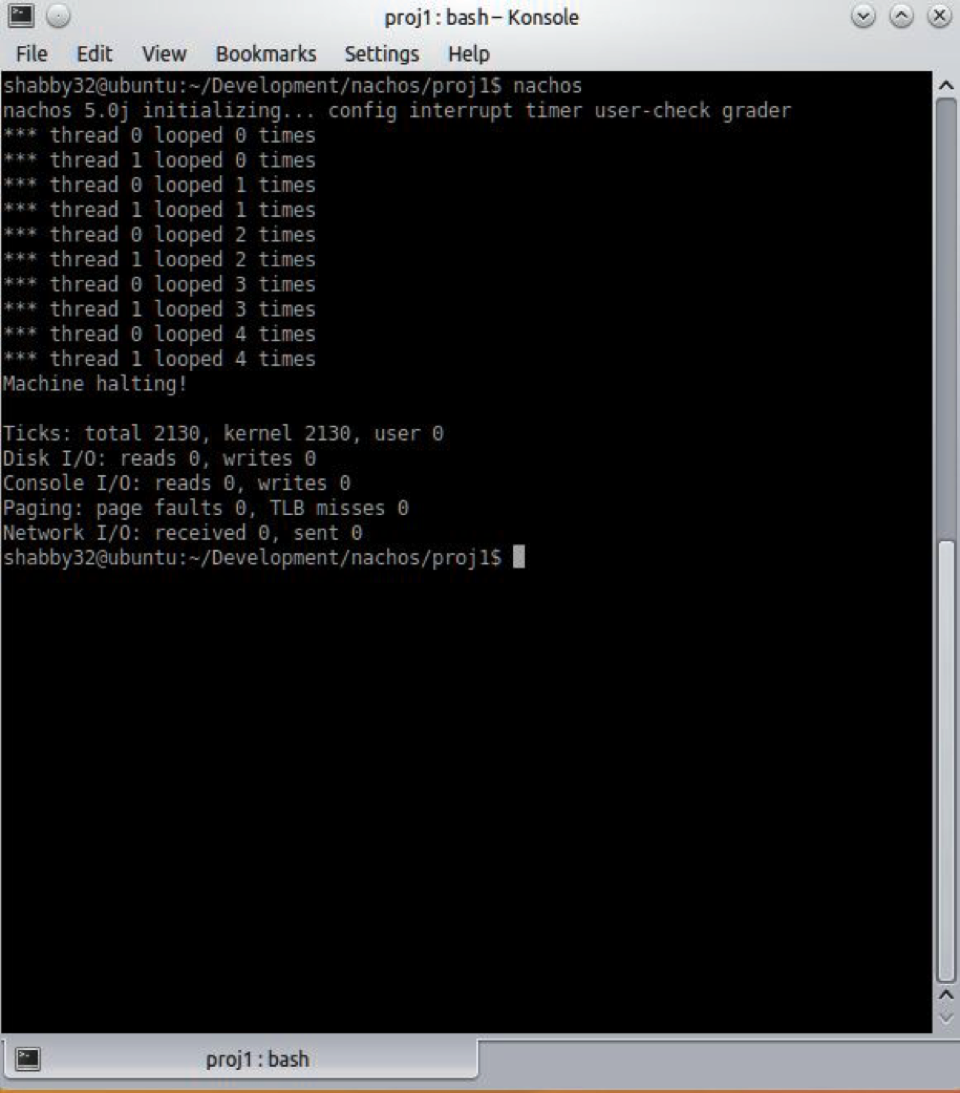
    Figure 5: Nachos output in Proj1
  11. Nachos is now ready to go! To install the cross-compiler on Cygwin, please proceed to Section 2.3.

2.2.2 Linux Installation

The Linux installation is largely similar to the Cygwin installation, with the main difference being the bash script editing.

  1. Download and unzip Nachos into a directory of your choice using tar -zxvf nachos-java.tar.gz.
  2. Ensure that you have Java 1.5 or above installed by running java -version. If you do not have Java installed, you can download it from the Oracle website here.
  3. Once you have Java working, then navigate to nachos/proj1 and run make.
  4. To make things easier for ourselves, we will add the nachos executable to our PATH variable so that it is easier to run. Open  /.bashrc in your favourite text editor.
  5. Add the absolute path to the bin folder inside Nachos to the path variable by appending the line export PATH=$PATH:path_to_nachos_bin to the end of the file, similarly to Figure  6.

    pict

    Figure 6: .bashrc contents in Kubuntu
  6. We can now try running Nachos. Navigate to the proj1 folder inside Nachos, and run nachos. You should have an output similar to Figure  7.

    pict

    Figure 7: Proj1 run in Kubuntu
NOTE: If you encounter the error “Unsupported major.minor version error”, you must remove the other Java version and all references to it using the following commands:
  1. Update your repository first: sudo apt-get update
  2. Remove all Oracle and/or Java related files: sudo apt-cache search java | awk 'print($1)' | grep -E -e '^(ia32-)?(sun|oracle)-java' -e '^openjdk-' -e '^icedtea' -e '^(default|gcj)-j(re|dk)' -e 'ĝcj-(.⋆)-j(re|dk)' -e 'java-common' | xargs sudo apt-get -y remove
  3. sudo apt-get -y autoremove
  4. Purge all config files: dpkg -l | grep ^rc | awk 'print($2)' | xargs sudo apt-get -y purge
  5. Remove Java config and cache directory: sudo bash -c 'ls -d /home/⋆/.java' | xargs sudo rm -rf
  6. Remove manually installed Java Virtual Machines (JVM): sudo rm -rf /usr/lib/jvm/⋆

2.2.3 Mac OS X Installation

Mac OS X installation is similar to the steps for Linux with the only difference that the path variable should be modified in the file .bash_profile in your home directory.